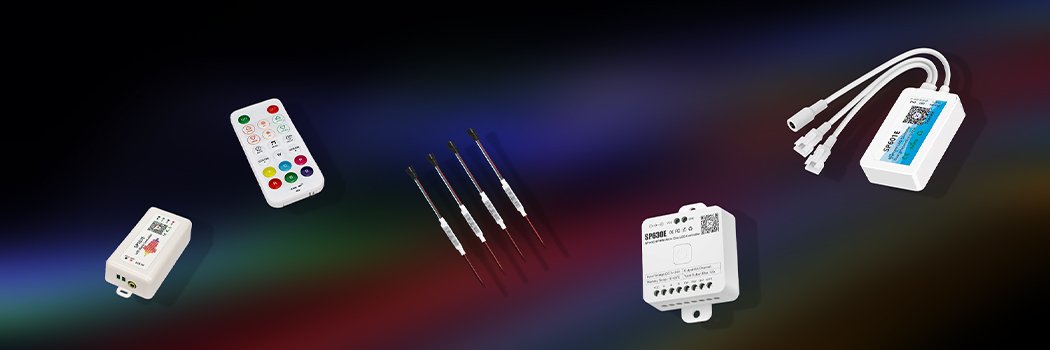
WiFi App Controlled Pixel LED Controller Features:
1. Long distance APP remote control via WiFi ;
2. WiFi App Controlled Pixel LED Controller Support routing mode(AP) and LAN connection mode(STA);
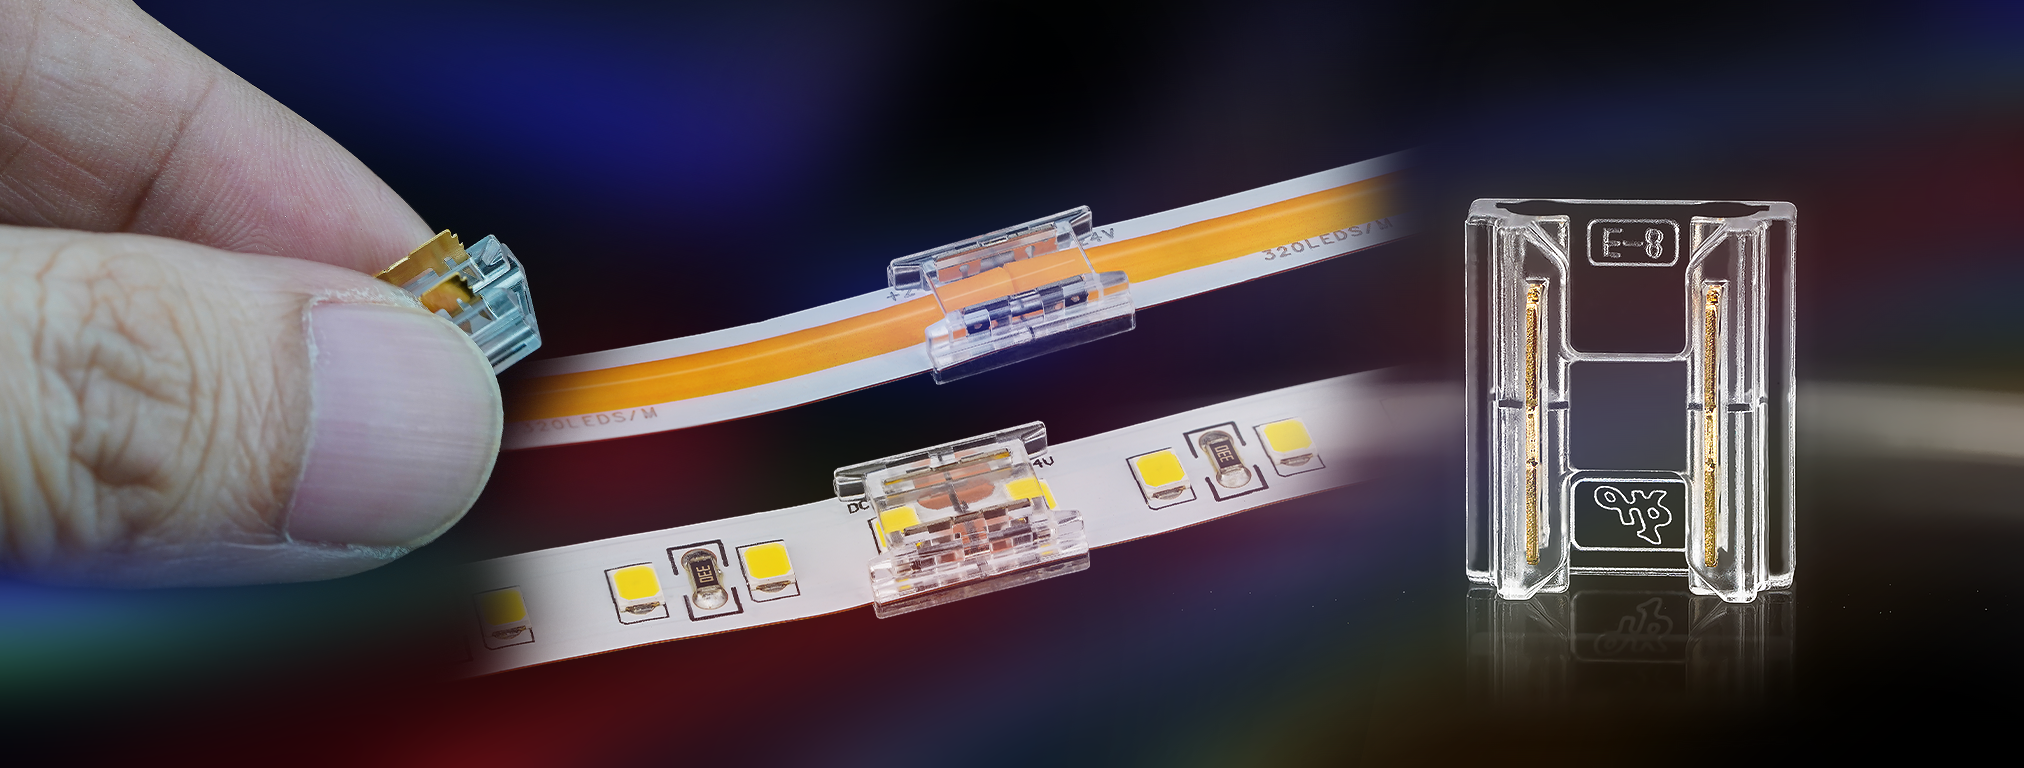
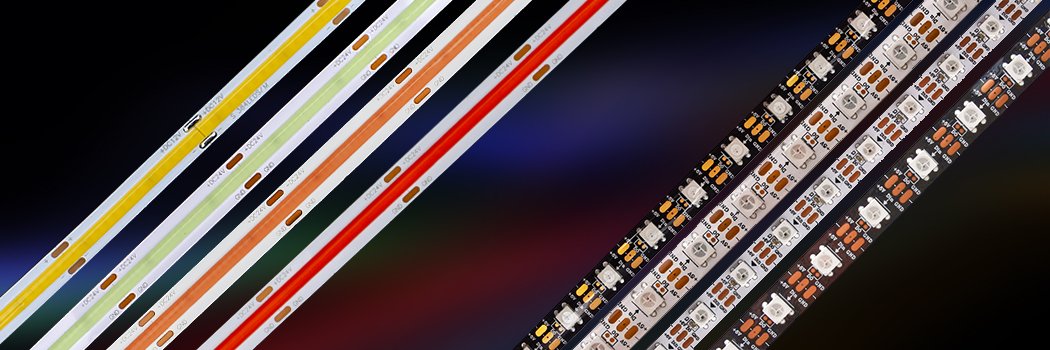
3. Support almost every kind of one-wire or two-wire LED driver IC ;
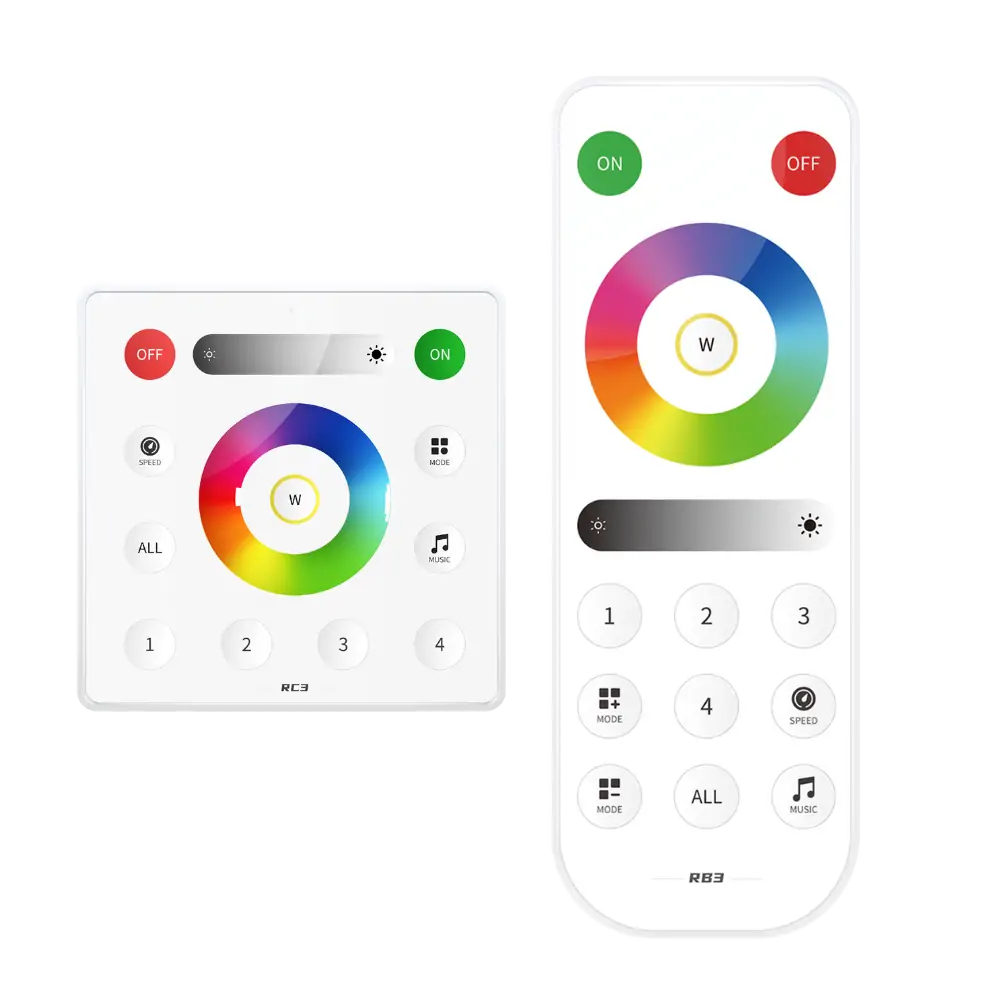
4. Brightness adjustable, With 180 kinds of patterns and 8 kind of color adjustable patterns;
5.Creatively using from-image-to-effect method for user to DIY any effect;
6. Support setting pixel number and segments number, able to control up to 2048 pixels;
7. DC5V~24V wide range working voltage, preventing reverse connection of power supply;
8. User setting saving; WiFi App Controlled Pixel LED Controller
WiFi App Controlled Pixel LED Controller App control:
Both IOS version and Android OS version are available. (hardware should support WIFI)
•Requires IOS version 10.0 or later;
•Requires Android OS version 4.4 or later;
•Search ”LedShop” on the App Store or Google Play or scan this QR code to download and install the App:
WiFi App Controlled Pixel LED Controller functions:
•Button:
1.Click on the button: Switch AP/STA mode;
2.Long press the button: Enter the Smart Config mode;
LED Indicator:
1.Blue: AP(Access Point) mode;
2.Green: STA(Station) mode;
WiFi App Controlled Pixel LED Controller Working Modes:
1.AP(Access Point) mode:
Controller and Phone connect directly, controller works as an access point.
1> Go to your phone Settings,find and connect the controller(named like SP108E_XXX, the default password is 12345678);
2> Open the LED Shop App ,then the controller will be showed on the device list;
STA(Station) mode:
Controller and phone are in one same WiFi network, in this network, users can operate the controller smoothly.
There are two ways to configure the controller into the local WiFi network:
Smart Config Automatic Mode
This mode requires your phone has connected to a 2.4GHz WiFi:
1>Make sure your phone is connected to a WiFi network, pressing the Add Device button;
2>Input your WiFi password, pressing next step and select Automatic mode, long press the button of the controller until the LED indicator flash green;
3>Pressing the OK to confirm and wait for the configure processing finish,;
4>After the configuration is finished, the LED indicator will turn into solid green, drag to refresh the device list, and the controller will be showed on
the device list;
WiFi App Controlled Pixel LED Controller Manual Configure Mode
This mode requires your phone has connected to a 2.4GHz WiFi or has connected to a 2.4GHz&5GHz combined WiFi netwok
1>Make sure your phone is connected to a WiFi network, pressing the Add Device button;
2>Input your WiFi password, pressing next step and select Manual mode, click the button of the controller to switch the controller to AP mode(he
LED indicator will turn into solid blue);
3>Go to your phone Settings, find and connect the controller(named like SP108E_XXX, the default password is 12345678);
4>Go back to the APP and pressing next step to start the configure processing;
5>After the configuration is finished, the LED indicator will turn into solid green, drag to refresh the device list, the controller will be showed on
the device list.
Removing device:
User can select the controller and remove it out of the network by pressing the Remove Device button on the APP, or just click the button of
the controller to switch the controller into AP mode.
WiFi App Controlled Pixel LED Controller Wire Connection:


Reviews
There are no reviews yet.