cut and connect COB LED light strips is a straightforward process with YIFORD’s solderless connectors. By following these steps, anyone can achieve professional-looking installations without needing soldering skills or specialized tools.
How to cut and connect led light strips together?–easy reconnect
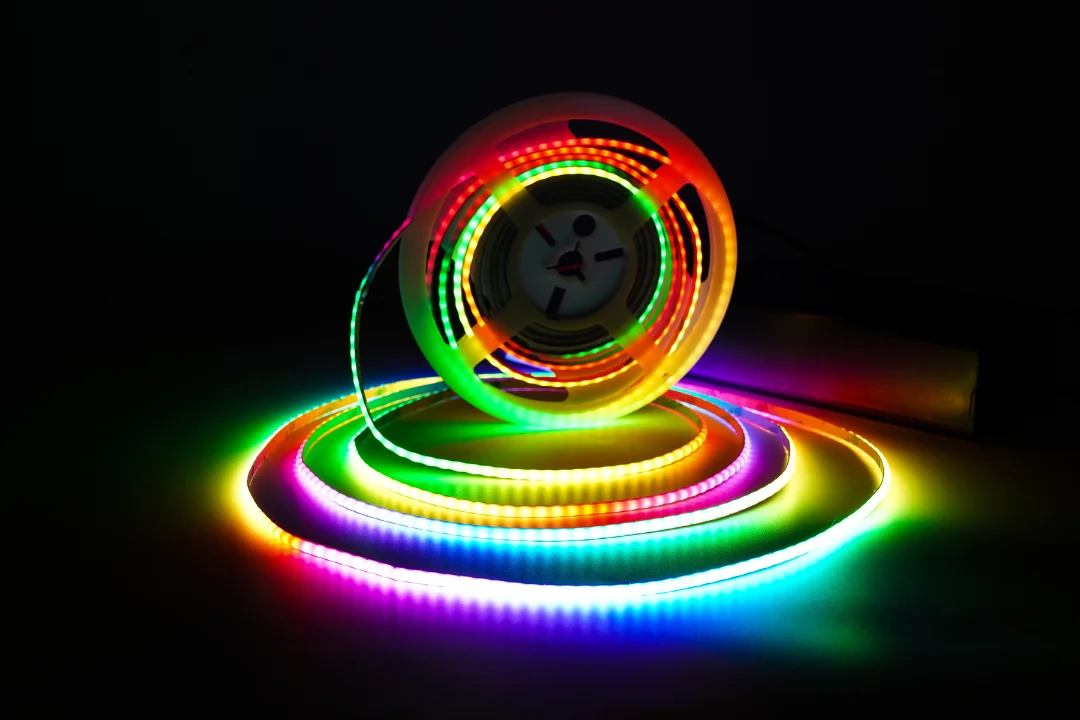
COB (Chip On Board) LED light strips are known for their seamless and uniform light output, making them a popular choice for various lighting applications. Typically sold in 5-meter rolls, these strips often need to be cut and reconnected to fit specific installations. YIFORD provides a range of solderless connectors that make this process easy and accessible for anyone, regardless of technical expertise. This guide will walk you through the steps to cut and connect COB LED light strips using YIFORD’s solderless connectors
Tools and Materials Needed
- COB LED Light Strip: 5-meter roll or desired length
- Cutting Tool: Scissors or a sharp knife
- YIFORD Solderless Connectors: Available in various types to fit different LED strip specifications
- Power Supply: Appropriate for your LED strip
- Cleaning Supplies: Rubbing alcohol and a clean cloth for preparing the surfaces
- Optional Tools: Measuring tape, pencil, and mounting brackets for precise installation
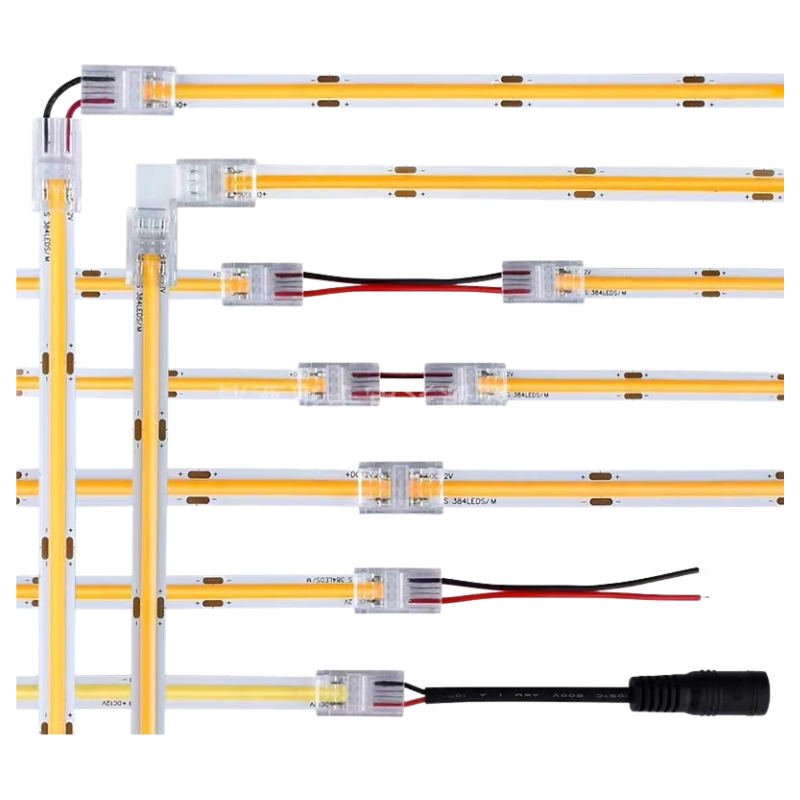
Cut and connect led strip lights solderless connectors product link:

Step-by-Step Guide
Step 1: Planning and Measuring
- Determine the Length Needed: Measure the area where you plan to install the LED strips. Mark the desired lengths on the strip using a pencil.
- Locate the Cutting Points: COB LED strips have designated cutting points, usually marked by a small line or scissors icon. Ensure you only cut at these points to avoid damaging the strip.
Step 2: Cut LED Strips
- Prepare the Cutting Area: Lay the strip on a flat, clean surface.
- Cut Along the Marked Line: Use scissors or a sharp knife to make a clean cut at the designated cutting point. Ensure the cut is straight to facilitate easy reconnection.
Step 3: Preparing the Strips for Connection
- Clean the Contact Points: Use rubbing alcohol and a clean cloth to wipe the contact points on both ends of the cut strip. This ensures a good connection and removes any dirt or residue.
- Expose the Contact Pads: If necessary, gently peel back any protective coating or silicone covering the contact pads where you will attach the connector.
Step 4: Using YIFORD Solderless Connectors
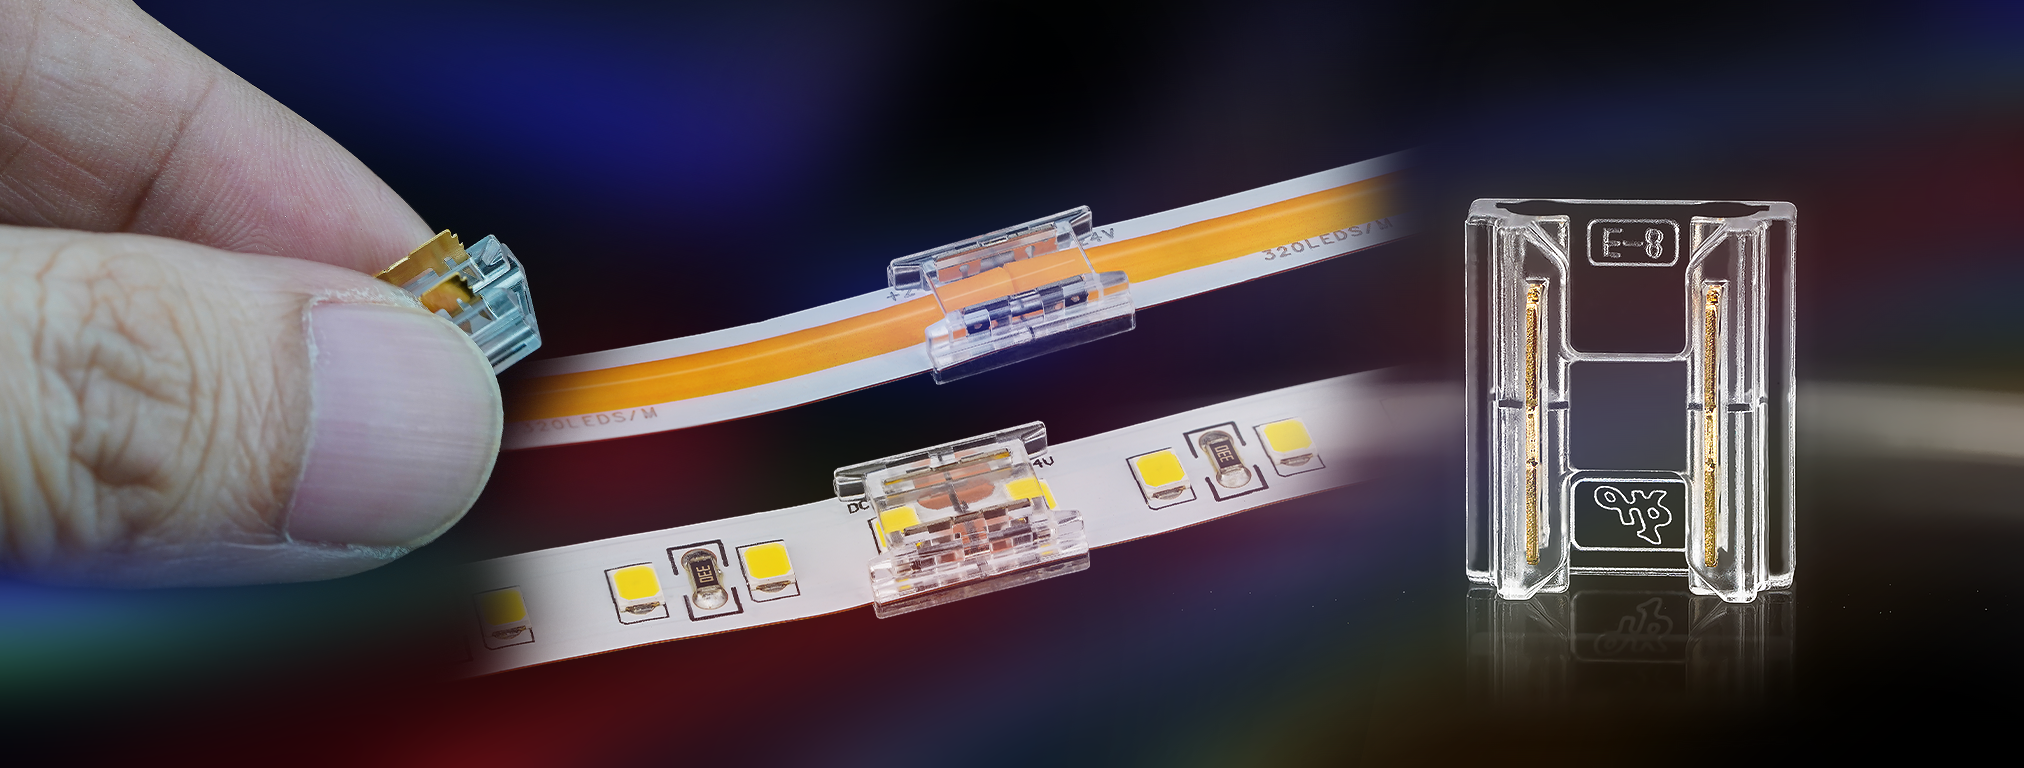
YIFORD offers nearly 300 types of solderless connectors, covering most LED strip specifications. Choose the appropriate connector for your COB LED strip.
- Open the Connector: Carefully open the connector by lifting the latch or pressing the release button, depending on the type.
- Insert the LED Strip: Align the cut end of the LED strip with the connector’s contact pins. Ensure the positive (+) and negative (-) markings on the strip match those on the connector.
- Secure the Connection: Close the latch firmly to secure the strip in place. You should feel a click or see that the strip is held tightly by the connector pins.
Step 5: Testing the Connection
- Connect to Power Supply: Attach the power supply to the connected LED strips.
- Turn on the Power: Test the connection by turning on the power supply. The strip should light up evenly along its length. If any section fails to light, check the connection and ensure the contact pads are clean and properly aligned with the connector pins.
Additional Tips
- Using Extension Wires: For installations requiring spacing between LED strips, use extension wires with compatible solderless connectors. This allows flexibility in positioning different sections of the strip.
- Securing the Strips: Use mounting brackets or adhesive backing (if included) to secure the LED strips in place, ensuring they stay aligned and attached to the surface.
- Handling Corners and Angles: For installations around corners or angles, use corner connectors to maintain the integrity of the strip’s lighting pattern.
Common Applications
- Under Cabinet Lighting: Customize lengths to fit under kitchen cabinets, providing seamless and bright illumination.
- Accent Lighting: Create continuous lighting effects along walls, ceilings, or architectural features.
- Display and Signage: Perfect for highlighting retail displays or creating illuminated signs with precise lengths and connections.
- Automotive Lighting: Ideal for interior car lighting, allowing for custom lengths and easy installation.
Cutting and connecting COB LED light strips is a straightforward process with YIFORD’s solderless connectors. By following these steps, anyone can achieve professional-looking installations without needing soldering skills or specialized tools. Whether for home, commercial, or automotive use, YIFORD provides the tools and connectors necessary to customize and extend your COB LED lighting projects with ease and precision.
If you need further assistance or have specific questions about your installation, YIFORD’s customer support is available to help guide you through the process. Enjoy the flexibility and brilliance of COB LED strips with the convenience of YIFORD’s innovative solutions.
Related videos
/
360 views


 Round Tube
 Topview Tube
 Sideview Tube
 With Fringe
 Black Tube

 Light Accessories